By Madison Huggins’20 and Spencer Klink’20
Now that the winter season has washed over some parts of our world, it is time to continue preparing and decorating for this unique season. Although most of the holidays have now passed, the air is still refreshingly chilly and the skies are still peacefully overcast, so what better way to rejoice in wintertime than by creating these colorful and original winter DIY projects?
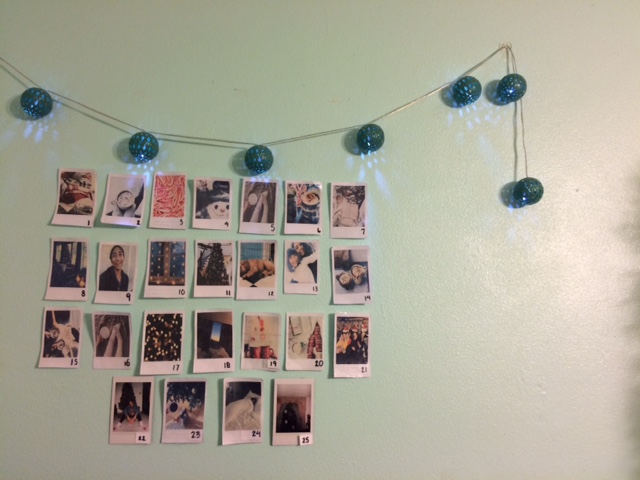
Polaroid Calendar Wall
Material:
–A computer (For websites such as “picmonkey.com”)
-Printer/ Paper
-Clear Packing Tape
-Scissors
-Sticky tack (or if necessary regular scotch tape)
-An empty wall
Procedure:
- Step 1: Either take pictures or find images of the winter season.
- Step 2: On the computer, go to a photo editing website such as “picmonkey.com”
- Step 3: Once on the website, find the “frames” category and click on the “polaroid” frame option.
- Step 4: The website will then give the opportunity to choose the photo to place in the frame, which will replicate it as a polaroid photo.
- Step 5: Repeat this process until there are enough polaroids to fill every day of the month of December or January.
- Step 6: Print out the polaroids and carefully cut them out.
- Step 7: Take a black sharpie and write the number of each day of the month in the bottom left-hand corner of the polaroid.
- Step 8: Take some sticky tack (this will not damage paint), place a small dot on the back of each polaroid and stick each image on a wall in the formation of a calendar.
- Step 9 (optional): To add some character, place fairy lights around the frame of the calendar.
- Step 10: Sit back and admire your creation
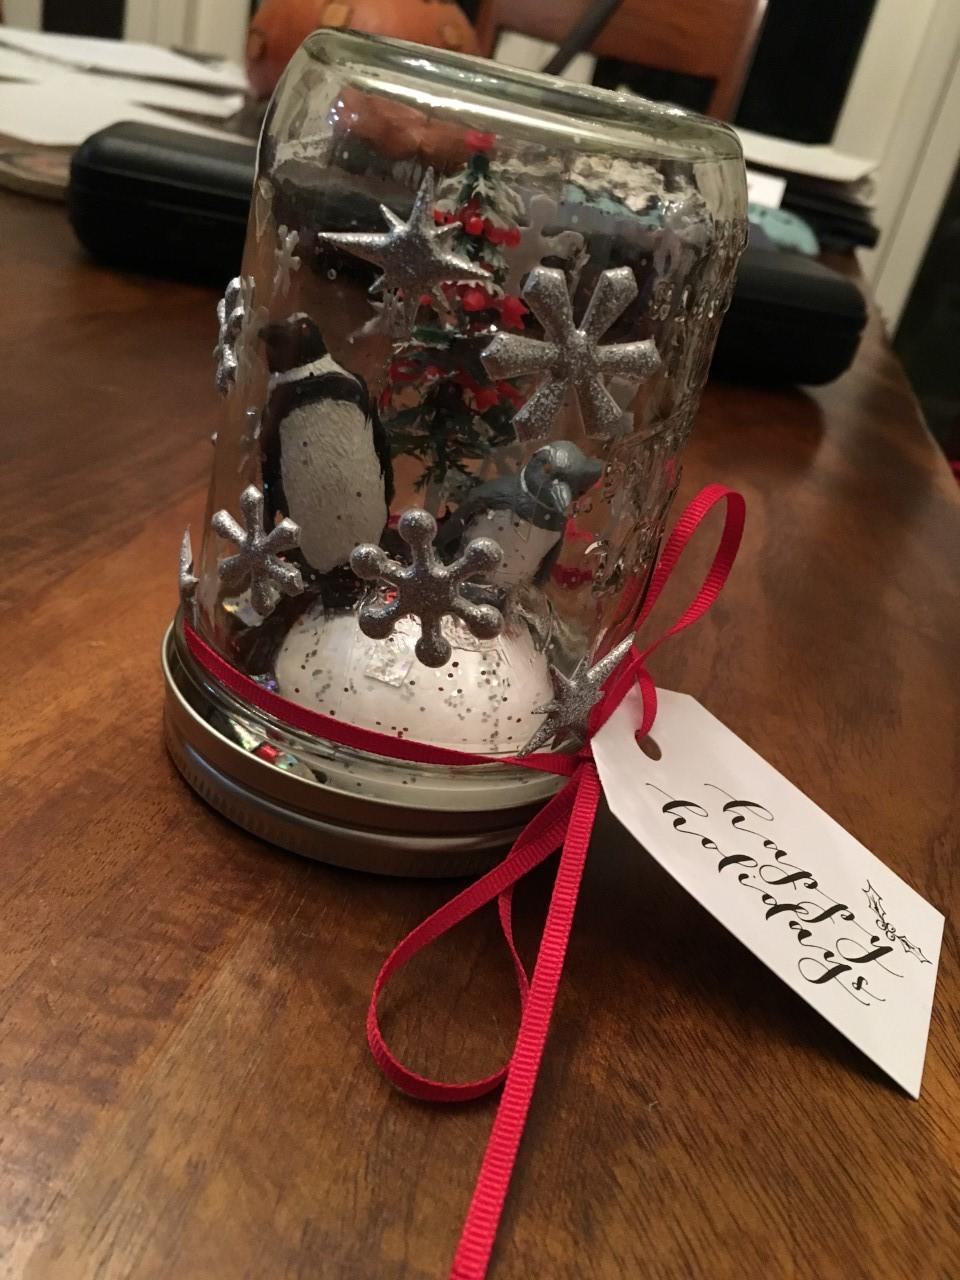
DIY Snow Globe
Materials:
-One mason jar
-Artificial snow
-White glitter
-Waterproof toys
-Miniature decorative plastic figurines
-Waterproof glue
Procedure:
- Step 1: Using the waterproof glue, attach the miniature(s) or toy(s) to the bottom of the mason jar lid.
- Step 2: Pour water into the mason jar. There should be enough space left that, when the lid is sealed to the cap, there will be no air bubbles. Adjustments can be made based on how much air is in the snow globe when the lid is initially put on but not permanently attached.
- Step 3: Pour two to four tablespoons of glitter or artificial snow into the mason jar.
- Step 4: Carefully seal the lid back onto the mason jar once the glue has completely dried. Apply more glue to the exterior where the jar and lid meet in order to prevent any water from leaking.
- Step 5: Place the snow globe in a safe location where it can’t fall. Enjoy!